Leaving the Ghostbusters project aside for a moment, I did some work on my computer station..

This is how it is currently. All cluttered up, and messy... I intend to make this the most efficient piece of my living room..

Now, I had this plywood box saved from the garbage, as I knew that a box this clean has some uses. Even if in pieces..

The lid was about half an inch thich, and wide enough, so I took it off, and...

Measured it's width, and drew a square on it.

The square was then divided into a triangle, and at this point, I took my keyboard and mouse mat to the equation.

I drew curved recess on the board, with just enough room for the mouse mat. The mat needs to be trimmed to fit. With my previous experiences on these tables, the more room you have, the more junk you have, so this is going to be as spartan as possible.

I cut out the table.

And after a quick sanding, it looks nice.

I then took the lid up again, and measured another triangle for my laser printer. It will reside beneath my computer desk..

I planned to leave some space under the printer table for paper tray, and a standard A4 rice fits in nicely.

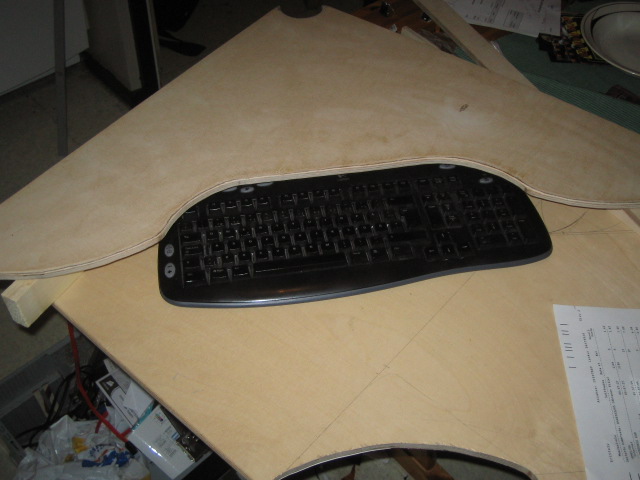
I tested the keyboard under the table, and it looks good.

I then took out another piece of plywood, 4mm this time and cut out a piece for the keyboard tray.

Another plywood trip was used to make the back end of the tray.

With two other pieces will be the side walls. The walls are one centimeter higher than the back wall, just in case I need to use a corded keyboard at some point..

The keyboard fits in nicely. I DID my research, and checked if the other keyboards would fit inside this tray, and I found out that my current keyboard is wider than most average keyboards out there, so I will have no trouble if this is broken..

I then checked how it looks under the top table.. Looks good..

The tray was then attached to the table, as were the side supports that will be bolted to the walls.

This was done on the printer table as well. I left the paper tray out of the equation for the moment, it is easy to add later on.
I now need to get some wood stain to stain these pieces darker... So, it is off to the shops for me...
 I sprayed them with black satin, and made the mistake of painting them thoroughly. I meant to paint the upper surface, and then the under, but as I sprayed the guns all over, I needed to suspend them on to coat holder...
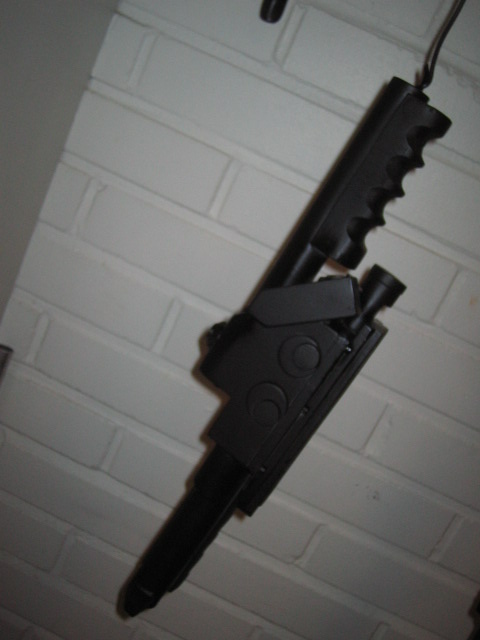 Immediately after I sprayed the third gun, I noticed that on my own gun, this paint would have been the choice for us. It dries smoooooooth and nice, and covers well. Still, the packs are painted, and dulled with steel wool, it does not matter anymore. It would have saved us from the steel wool phase, but I still doubt it..


